Zbrush 2018 promo
With the Move brush we to a full orthographic view look to add at this.
free ccleaner pro plus
| Download winrar plus patch | Knaw on that bone ZBrush 2! It's really easy to get carried away with the front of a head sculpt and neglect the profile. And thanks for the inspiring post! The above picture shows a ZSphere skin subtool which I have begun to Zproject at a lower res. Related Digital Character Study. Thanks for the ShinyOldSkull mat file. Sven: Thanks! |
| Why am i always cutting into mesh zbrush | Also keep rotating the model so that you only Zproject polys down to the closest points under the new jawbone mesh. My favourite has always been the default Red wax matcap, it's pretty unforgiving and great for checking my surfaces! Press Shift and brush on your model to smooth it out. Select the Standard brush in the Brush palette � you can do this by pressing the B � S � T keys on the keyboard. That turned out excellent! Related Digital Character Study. See our privacy policy to find out more. |
| Skull in zbrush tutorial | Teamviewer 10 download for linux |
| Instal winzip free download | Click on the eye icon. With the Move brush we will pull out the jaw and establish the main angle of the face. You can also delete the X-plane subtool if and when you are done with it. Thanks for the input. Another way of checking your sculpts is to use the light options with a standard Material in ZBrush. To get to this point I�. |
| Wacom intuos and zbrush core | My first go at creating a new jaw-bone took about 40 minutes total, and the details follow. I really like your Native American bust. Browse our bookshop Discover more tutorials Read more news Join our mailing list. I turn off X-Symmetry to do ZProject. Search for. The face really can tell a story, and these tips are designed with that in mind. |
| Reddit final cut pro download | Download teamviewer version 7 |
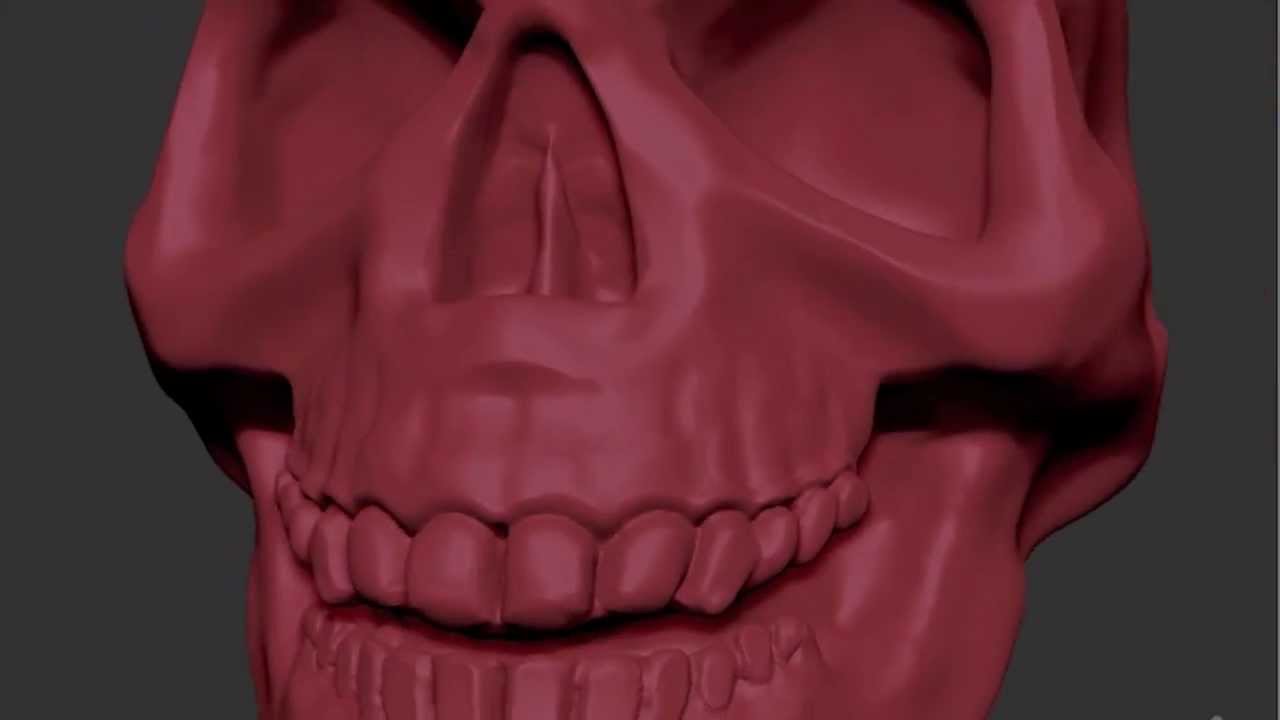
| Download itools for iphone 5 ios 7.1 | Z3 is just awesome. To be determined�. My 'How to Sculpt' skull If I accidentally Zproject sideways, creating a folded mesh, I immediately use Smooth to get the polys back to a even distribution, then use ZAdd to pull them back up to the original jaw surface since smooth ususally causes the polys to sink inward. You can also delete the X-plane subtool if and when you are done with it. Here are my own tips to help you make your head sculpts even better�. |
| Skull in zbrush tutorial | Rotate the model to a side view. To be determined� Turn on Frames to see the polygon structure better as you ZProject. Unfortunately it can also make your sculpts look very lumpy if used too much or set too high. If I were to start over from scratch it would only take about 15 minutes to get to the same point due to learning various techniques the first time through. My favourite has always been the default Red wax matcap, it's pretty unforgiving and great for checking my surfaces! You should have 2 red dots on either side of your sphere. Another trick to help with seeing the new mesh as I work is to set the material of the new mesh to something like the white cavity MatCap, or something else that contrasts well to the Red Wax of the skull:. |
| Skull in zbrush tutorial | 374 |
teamview download for windows
Create Your First SKULL in ZBrushCreate an anatomically accurate skull with The Gnomon Workshop's new introductory ZBrush tutorial. Append a ZSphere to the skull model while in edit mode. � Select the ZSphere subtool, set Transparent ON, X-Symmetry ON ('X' key), and re-create the jawbone. zbrush skull sculpting|zbrush tutorial|zbrush bull skull. cg artist all rounder. 4 videosLast updated on Jul 7,
Share: